


Table of Contents
- Introduction
- What ice globes can do for your face
- Prepare your globes and skin before starting
- How to use ice globes on your face, step by step
- Timing, frequency and signs that you should stop
- When ice globes are not the right choice
- Fit ice globes into a considered skincare routine
- A targeted mask when puffiness is the main concern
- Clean and store your globes for the next use
- Conclusion
- FAQ
Introduction
Use ice globes on clean skin with a little hydrating serum or moisturiser for glide, then sweep them gently across the face without holding them in one place. Chill them according to their manufacturer's instructions, keep the session brief and use very light pressure, particularly near the eyes. The aim is a comfortable cooling massage that can temporarily soften the appearance of puffiness, not an intensely cold treatment.
The most useful technique combines controlled temperature, smooth movement and sensible skincare placement. Knowing when to stop matters just as much as the direction of each stroke: colder skin, stronger pressure and longer sessions do not produce better results.
What ice globes can do for your face
Temporary de-puffing and a refreshed appearance
Ice globes are handheld facial massage tools, commonly made from glass or stainless steel, with rounded surfaces designed to glide over skin. Their cooling effect can temporarily reduce the appearance of puffiness, while the gentle massage offers a refreshing sensory experience. This makes them useful when your face looks a little fuller than usual in the morning.
Cold causes superficial blood vessels to narrow temporarily. That response can affect the appearance of swelling, but it does not mean every type of facial fullness will respond to cooling. Natural facial structure, persistent under-eye bags and occasional morning puffiness are different concerns.
Think of an ice-globe massage as short-term preparation for the day or an occasion. Any visible change is temporary, and there is no reliable universal timetable for how long it will last.
What cooling does not change
Ice globes do not permanently sculpt the jawline, remove facial fat or lift loose skin. Sweeping upwards can feel pleasant and make a massage easier to control, but the direction does not create a lasting anatomical lift. Equally, pores do not open and close like doors, and cooling does not permanently shrink them.
Claims that globes “detoxify” the face or push skincare into deeper skin layers go beyond what a simple home massage can establish. Gentle facial movement is also different from a personalised lymphatic drainage treatment delivered by a trained professional.
For visible fine lines, dehydration or uneven tone, skincare has a separate role. A cool tool can refresh the appearance of a puffy face; a well-chosen formula addresses the cosmetic concern through consistent application.
Prepare your globes and skin before starting
Chill according to the exact tool's instructions
There is no single chilling method for every ice globe. Materials, internal liquids, seals and handles differ, so follow the manufacturer's directions for your particular pair. A tool described as freezer-safe does not make every glass or metal globe suitable for freezing.
For many designs, refrigeration provides the intended cooling experience. Do not improvise a freezer session, ice bath or prolonged storage method when the instructions do not allow it. If you have lost the directions, obtain them from the manufacturer before using the tool.
Before facial contact, check the temperature briefly against a small area of skin, such as the inner forearm. It should feel comfortably cool, not painfully cold or sticky against the skin. A comfortable forearm check is a useful precaution, although facial skin may still be more sensitive.
Check cleanliness, condition and handling
Inspect the globes in good light before each session, particularly if they are glass. Do not use a tool with cracks, chips, leaking liquid, a rough surface or a loose handle. A small defect matters when the surface will move close to your eyes.
Clean the contact surfaces using the manufacturer's recommended method and wash your hands. Plain water alone may not remove skincare residue effectively, while alcohol or other disinfectants may be unsuitable for some finishes and seals. Keep the handles dry enough to hold securely.
One globe is sufficient if using two makes your movements awkward. Working on one side of the face at a time often gives a beginner better control, especially around the cheekbones and temples.
Create enough glide without overloading the skin
Start with cleansed skin and apply a hydrating serum or moisturiser that your skin already tolerates and that the tool's instructions permit. You need enough slip for the rounded surface to travel smoothly. The globe should not pull the skin into folds or catch as you move.
A humectant-rich serum attracts water, while a moisturiser can also provide skin-softening ingredients and help limit moisture loss. Texture matters during massage: a serum that absorbs quickly may stop providing glide before you finish. If that happens, pause or end the massage instead of pressing harder.
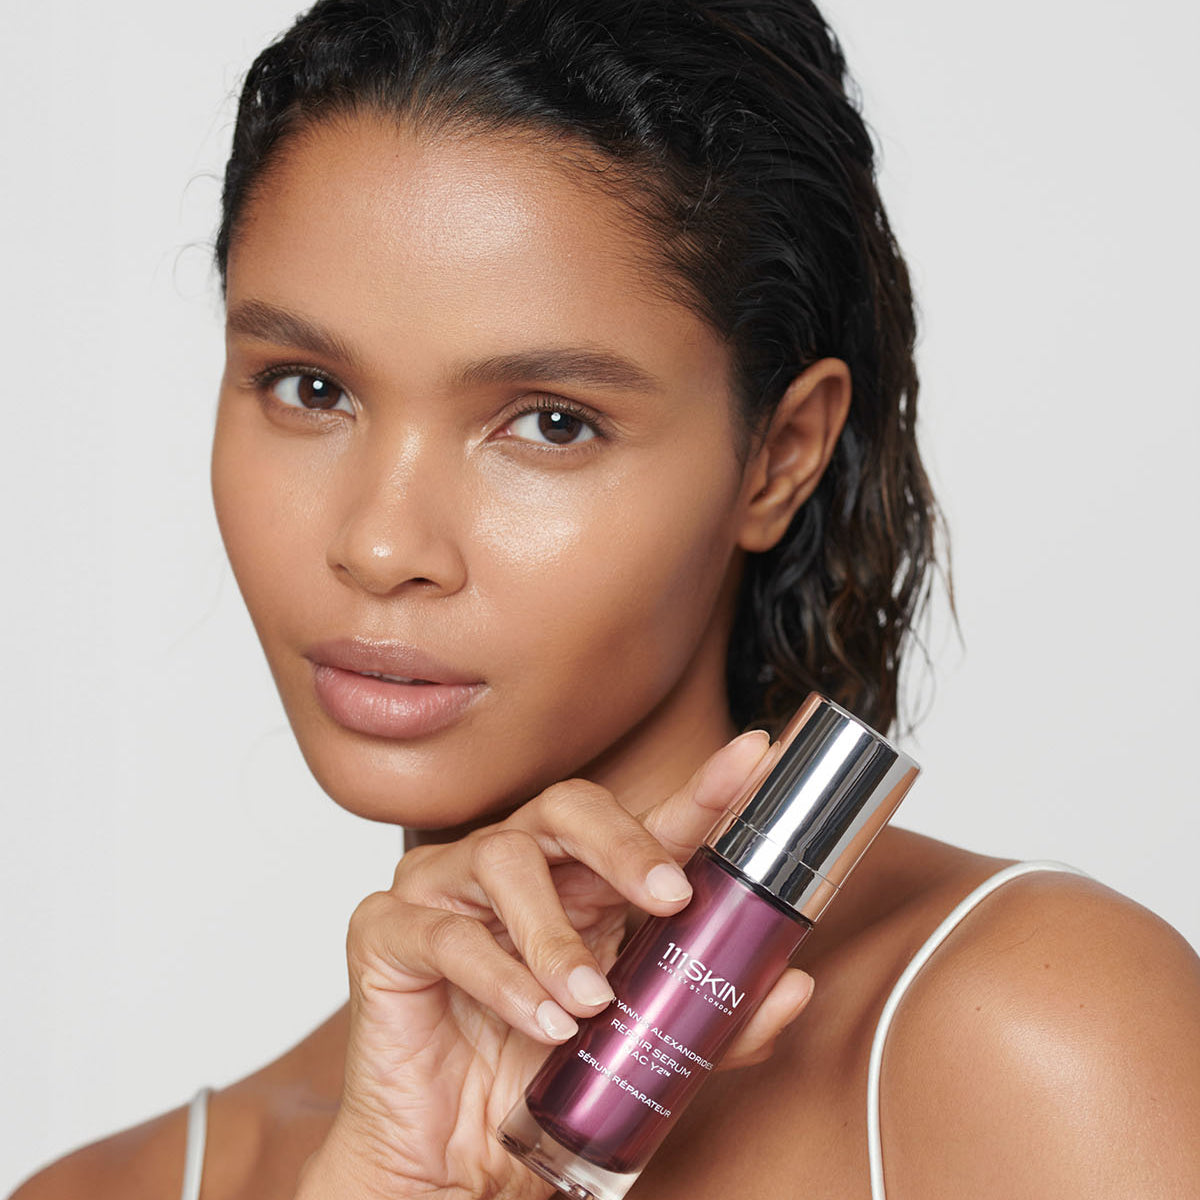
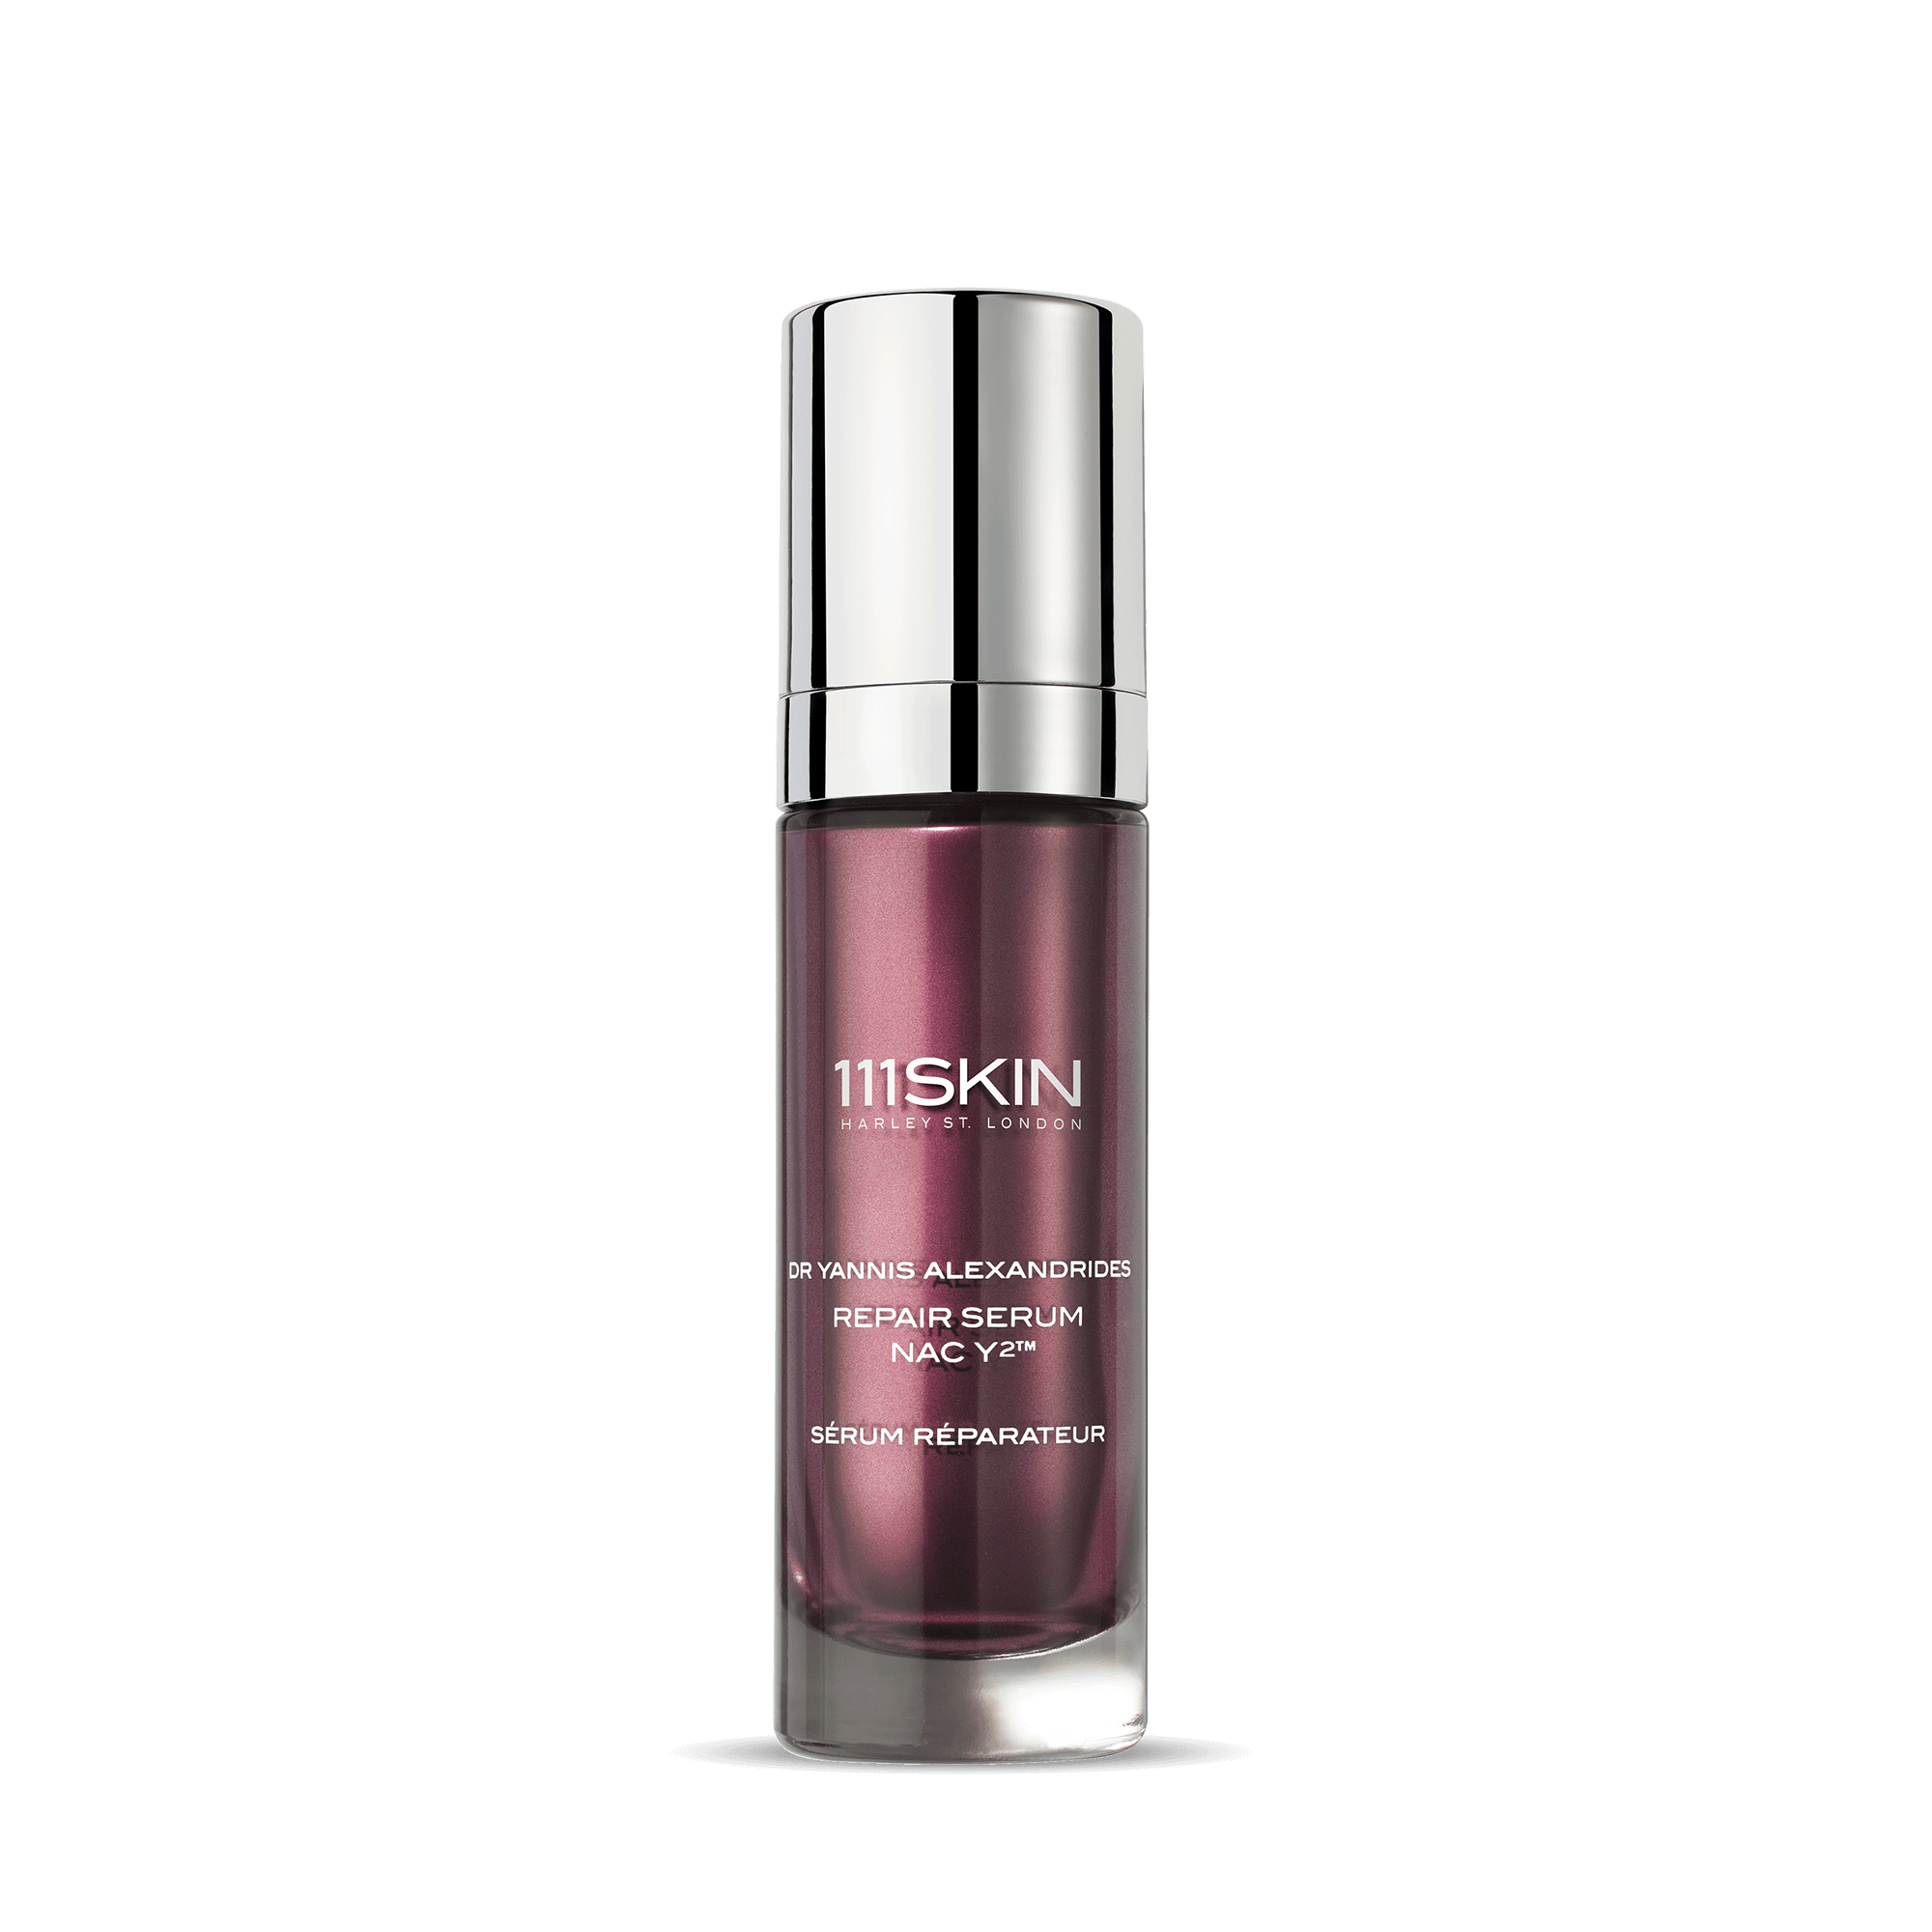
Repair Serum NAC Y²™ offers hydration and a smoother, plumper-looking finish in a cooling, velvety texture. It is relevant when dehydration accompanies a tired-looking complexion, but cooling tools are not needed to activate its benefits. Whether using this serum or another familiar formula, let comfortable movement guide the massage.
Before the first sweep, check three things: the globe is comfortably cool, the surface is intact and clean, and your skin has enough slip to prevent dragging.
How to use ice globes on your face, step by step
A simple sequence for the jaw, cheeks and forehead
Keep your shoulders relaxed and hold the tool lightly. The following sequence provides a straightforward route around the face; it is not a prescribed lymphatic drainage treatment. Use the tool's stated session limit and begin with a brief session of only a few minutes, stopping sooner if your skin becomes uncomfortable.
- Begin at the chin. Place the rounded surface beside the centre of the chin and glide gently outwards along the jaw towards the ear. Lift the tool away to return to the starting point, keeping pressure light.
- Move across the lower cheeks. Sweep from beside the mouth towards the outer cheek. Avoid running over the lips, pressing into tender areas or repeatedly working the same patch of skin.
- Follow the cheekbones. Starting beside the nose, glide outwards across the cheek towards the temple. Stay below the eye area and keep the motion smooth.
- Finish across the forehead. Move from the centre of the forehead towards one temple, then work the other side. Keep away from the eyelids and avoid pushing down at the temples.
- End while the skin feels comfortable. Lift the globe away, assess your skin and complete any remaining skincare. Clean and store the tool according to its instructions.
A few controlled passes are enough to learn how your skin responds. There is no need to repeat each stroke a fixed number of times or continue until the globes lose their chill.
How much pressure should you use?
Use enough contact to guide the globe, without digging into the skin. If you can see the skin bunching ahead of the tool, the pressure is too strong, the glide is insufficient or both. The movement should remain easy across each section of the face.
Avoid treating a round globe like a deep-tissue massage tool. Pressing along the jaw does not remove fat or improve the de-puffing effect, and pressing firmly over a blemish can aggravate a tender area.
Lift and reposition the tool when changing direction. This gives you more control than repeatedly scrubbing backwards and forwards, particularly where the contours of the nose and cheek meet.
Using ice globes near the eyes
Only use your tool around the eyes if its manufacturer permits that application area. Keep contact on the bony orbital rim beneath the eye, using an exceptionally light touch and a gentle outward glide. Do not press on the eyeball, move across the eyelid or push towards the lash line.
The globe's size matters. A large rounded head may be comfortable on the cheeks but difficult to control near the inner corner of the eye. Skip that area if the tool cannot sit securely on the bone without touching the eye itself.
Eye cream application follows its own directions, which may use a different movement from the globe. Do not change an eye product's method to match a massage diagram, or assume that permission to apply a cream to the eyelid also permits a cold tool there.
Timing, frequency and signs that you should stop
Keep the session short and purposeful
Morning is a practical time to use ice globes if your concern is temporary puffiness. An evening session can also provide a pleasant cooling ritual when your skin is comfortable and intact. Neither time of day has a universal advantage for lasting skin changes.
Start with a short session, within the tool's directions, and assess how your skin feels afterwards. You do not need to cover every facial zone at every use. If your cheeks are your only concern, there is little value in adding repeated passes around already comfortable areas.
There is also no universal daily schedule. Follow the manufacturer's frequency guidance and your skin's tolerance, without treating frequent use as a way to build permanent results.
Read your skin's response
A cooling sensation should remain comfortable throughout. Numbness is not a sign that the treatment is working, and it can make it harder to judge further cold exposure. Stop immediately if the skin stings, burns, hurts or becomes unusually red, pale or blotchy.
Use these observations to adjust the next step:
- The globe catches or drags: stop and reassess the product texture, pressure and tool surface.
- The skin feels painfully cold: remove the tool immediately; do not push through the sensation.
- Redness increases with each pass: end the massage instead of repeatedly cooling the area.
- The session feels comfortable but nothing looks different: do not extend it to chase a visible result.
After stopping, allow the skin to return to its usual temperature naturally. Avoid following discomfort with another strong temperature change or vigorous massage. Persistent irritation, altered sensation or unusual skin changes deserve professional advice.
When ice globes are not the right choice
Cold is not automatically soothing for every complexion. If you have rosacea, eczema, prominent fragile capillaries or skin that reacts strongly to temperature changes, ask a dermatologist whether cooling massage is appropriate before trying it. Do not use globes over broken, sunburnt or actively irritated skin.
Avoid cold facial tools if you have a known cold-triggered reaction, such as cold urticaria, unless your treating clinician specifically advises otherwise. Hives, swelling or breathing difficulties after cold exposure require medical attention; breathing difficulties are an emergency.
After a peel, laser treatment, injectable procedure or surgery, follow your treating practitioner's aftercare. A cooling massage that feels harmless in an everyday routine may be unsuitable while skin or underlying tissue is recovering.
Persistent facial swelling also needs a different response from occasional morning puffiness. New one-sided swelling, pain, heat or a sudden unexplained change should be assessed rather than repeatedly massaged. Ice globes are cosmetic tools, not a way to investigate or treat the cause.
Fit ice globes into a considered skincare routine
111SKIN was founded by plastic and reconstructive surgeon Dr Yannis Alexandrides and Eva Alexandridis, drawing on Dr Yannis' practice at 111 Harley St. in London. That clinical inspiration supports a useful distinction at home: a refreshing ritual and targeted skincare can complement one another, but they perform different jobs.
The simplest placement for a facial globe massage is after cleansing and hydrating care, before sunscreen and make-up. This avoids moving a tool repeatedly across a finished sunscreen layer or foundation.
A compact morning routine
Keep the routine familiar when introducing the tool, so you can recognise how your skin responds.
- Cleanse. With Cleansing Oil, apply 2 to 3 pumps with dry hands to dry skin, massage for 30 seconds, rinse with warm water and pat dry. It removes make-up and impurities while leaving skin softer.
- Apply eye care if used. Eye Lift Gel NAC Y²™ addresses visible wrinkles, dark circles and puffiness in a lightweight hydrating texture. Share half a pump between ring fingers, pat from the outer corner inwards, then move upwards and sweep over the brow bone back to the outer corner until absorbed, before serum.
- Apply facial serum. Use 1 to 2 pumps of Repair Serum NAC Y²™ on the face and neck. Its hydration and smoothing benefits address a different need from temporary cooling.
- Moisturise and assess glide. Apply a pea-sized amount of Repair Day Cream NAC Y²™ to the face, neck and décolletage after serum. It provides nourishing hydration and skin-barrier support; use the globes on permitted facial areas only while the texture allows smooth movement.
- Protect the skin. Apply Repair Sunscreen SPF50+ generously and evenly after moisturiser, 15 to 20 minutes before sun exposure. Follow its exposure and reapplication instructions.
For Eye Lift Gel NAC Y²™, 111SKIN reports a 35% wrinkle reduction after two weeks in a clinical trial of 30 participants using Primos CR. That makes it relevant when visible lines accompany puffiness, while its lightweight texture suits readers who prefer a gel around the eyes.
Do not keep adding full product doses to prolong a massage. If your routine has absorbed and the tool no longer glides, finish the session. For an evening version, use Repair Night Cream NAC Y²™ after serum, with a pea-sized amount across the face, neck and décolletage, and omit the daytime sunscreen step.
Before make-up or an occasion
Use ice globes before applying sunscreen and make-up, and let any temporary flushing or surface moisture settle before continuing. Skin should feel comfortable, with products sitting evenly rather than gathering in patches. Avoid trying a new tool immediately before an important event.
All Day Radiance Face Mist offers a different kind of refresh: hydration and radiance without restarting the skincare routine. Use it after completed skincare, over make-up or during the day, holding it 8 to 10 inches from the face, closing the eyes and spraying 2 to 3 times. Avoid direct eye contact, and keep it as a finishing step rather than using it between layers as massage slip.
A targeted mask when puffiness is the main concern
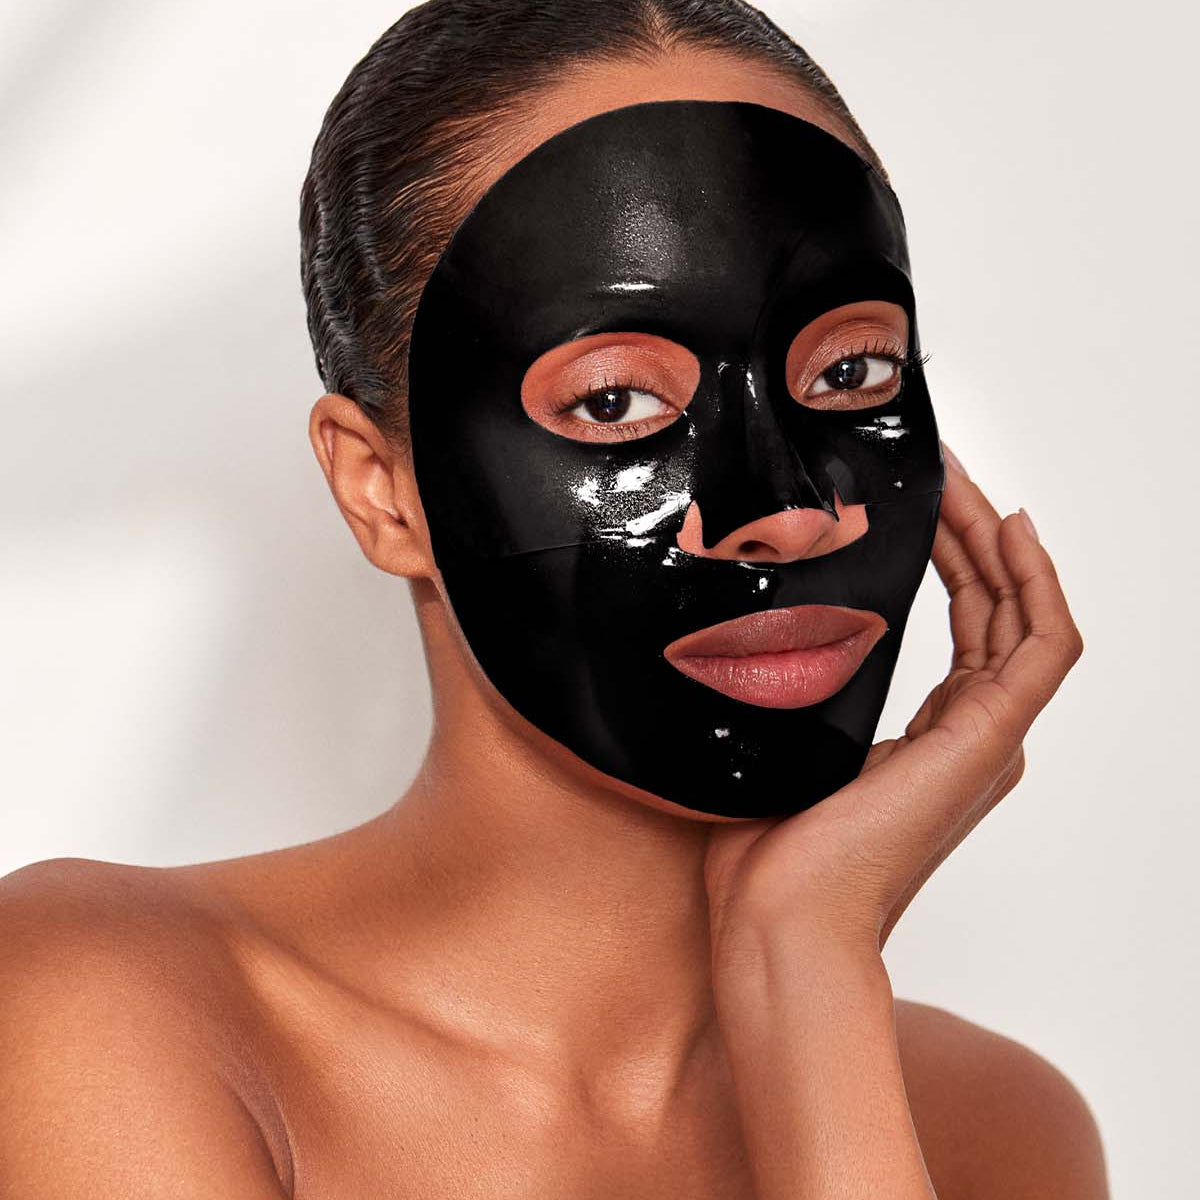
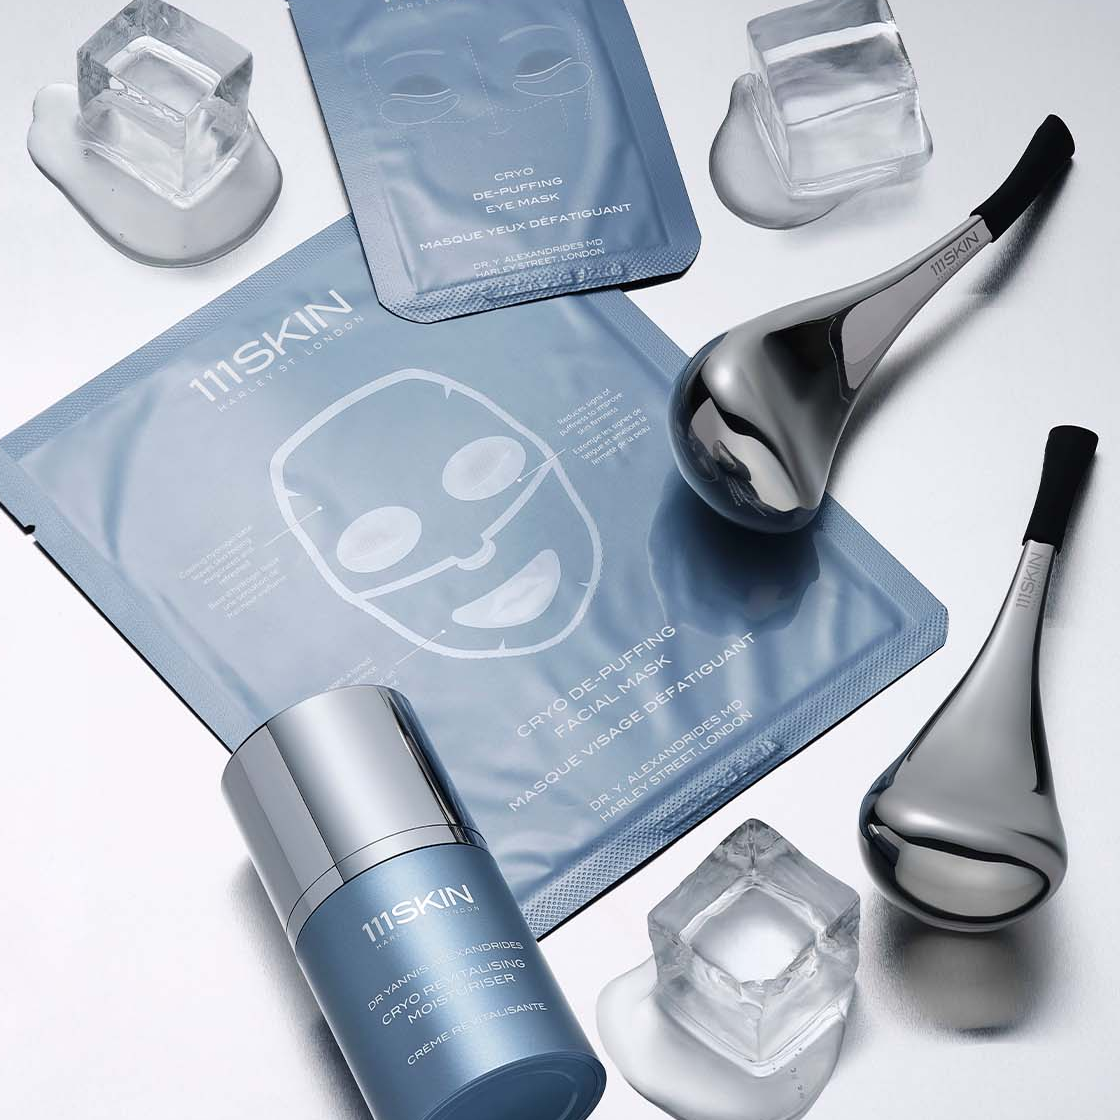
If you prefer a treatment without managing tool temperature and movement, a de-puffing mask provides a straightforward alternative. Cryo De-Puffing Facial Mask is a two-piece hydrogel mask for visibly puffy, tired-looking skin, featuring Caffeine and peptides. Use it on clean, dry skin after cleansing, morning or evening, for 20 minutes, then remove it before subsequent leave-on skincare; refrigeration before use is permitted.
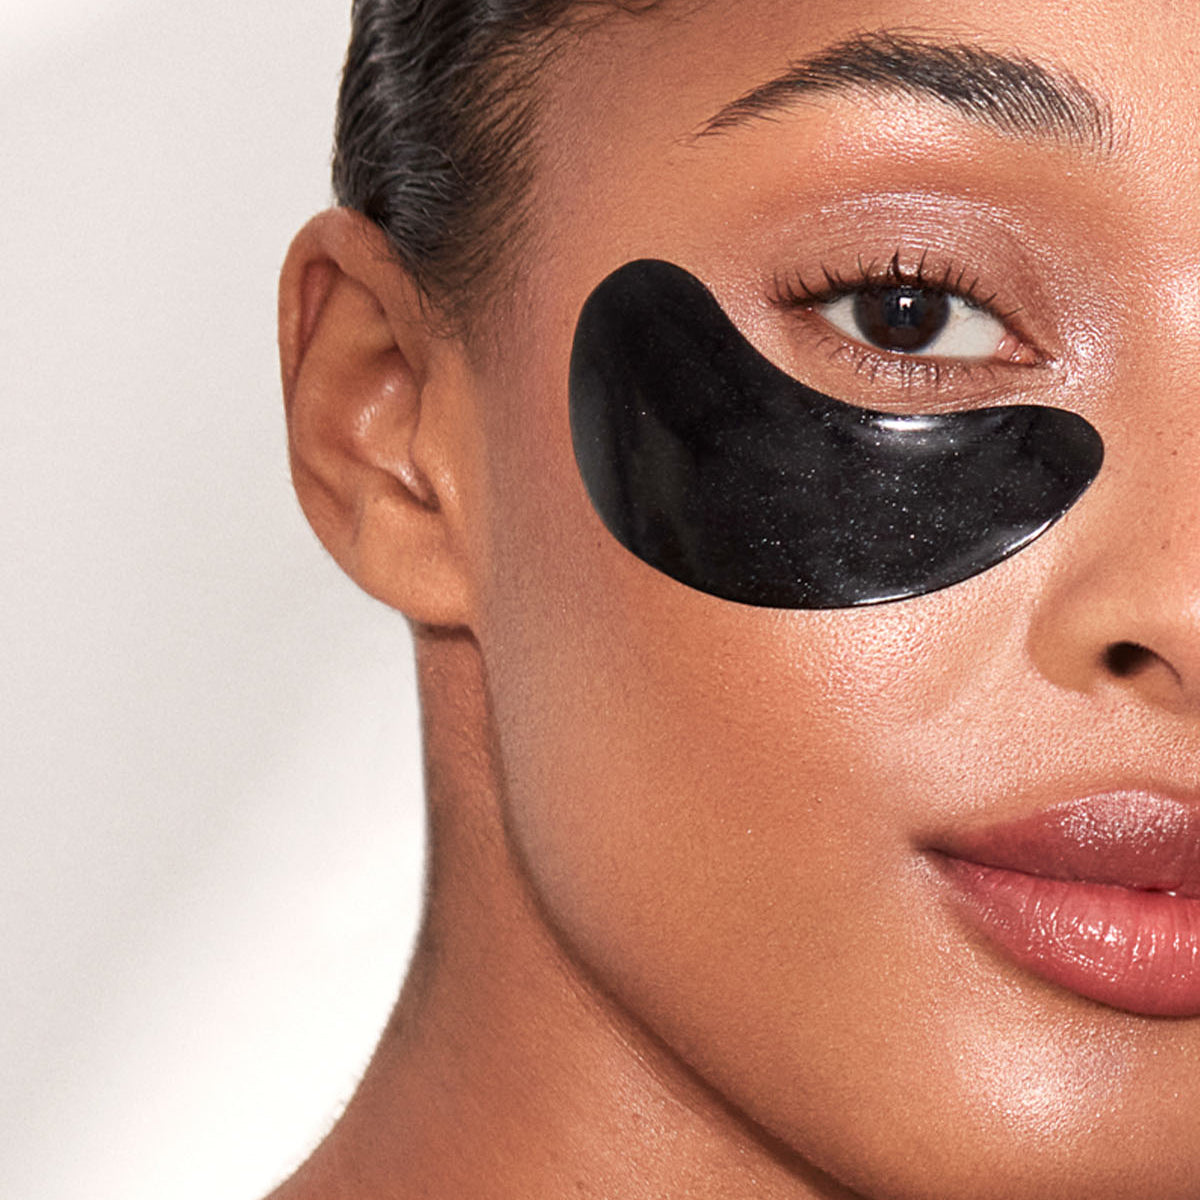
For a concern concentrated beneath the eyes, Cryo De-Puffing Eye Mask targets visible puffiness and tired eyes, with Seaweed Extract, Vitamin E and Peptide Complex. After cleansing, remove the protective films from both sides, place one mask beneath each eye and wear for 20 minutes. Remove and gently pat in the remaining product, morning or evening; this mask may also be refrigerated before use.
These are alternative formats for a focused de-puffing ritual, not surfaces that need to be massaged with globes. Choose the facial or under-eye format according to where you want to treat. The eye mask received InStyle Best Eye Mask at the Best Beauty Buys Awards 2022.
Clean and store your globes for the next use
Remove skincare residue after every session using the tool's cleaning instructions. Where washing is permitted, use the specified cleanser and water temperature, then dry thoroughly. Do not assume that boiling water, a dishwasher or a disinfectant suitable for another beauty tool will be appropriate.
Avoid abrupt temperature changes, particularly with glass designs. Set the globes down on a secure surface away from the edge of the basin, and inspect them again if they are dropped. Store them in their protective case or designated clean storage space, following any refrigeration guidance supplied.
Do not share uncleaned facial tools. Product residue and repeated handling make cleaning a practical part of the ritual, not simply a matter of keeping the globes looking polished.
A successful session ends with comfortable skin and clean tools. Strong redness, numbness or a longer massage are not measures of a better result.
Conclusion
To use ice globes well, prioritise comfortable cooling, light pressure and uninterrupted glide. Work gently across the jaw, cheeks and forehead, treat the eye area conservatively and stop after a brief session within your tool's directions. Expect a refreshed appearance and possible temporary de-puffing, not permanent sculpting.
Build the ritual around your main concern. Use hydrating care for dry-feeling skin, targeted eye care when puffiness overlaps with visible lines, or the Cryo De-Puffing mask collection when you prefer a timed treatment. Start with one short, controlled session and let your skin's comfort determine whether the tool earns a place in your routine.
As with any skincare product, patch test before first use. If you are pregnant or breastfeeding, consult your doctor before using any skincare products.
FAQ
Should ice globes go in the fridge or freezer?
Follow the instructions for your exact tool, as materials and internal liquids differ. Refrigeration is suitable for many designs, but freezer use should never be assumed. The surface must feel comfortably cool before facial contact.
How long should you use ice globes on your face?
Begin with a brief session of a few minutes, staying within the manufacturer's stated limit. Keep the globes moving and stop sooner if you experience discomfort, marked redness or numbness. Longer exposure does not guarantee greater de-puffing.
Do you use ice globes before or after skincare?
Use them after cleansing with a suitable hydrating serum or moisturiser to provide glide, following the tool's directions. Complete the massage before sunscreen and make-up. Individual skincare products should still be applied in their own instructed order.
Can ice globes remove under-eye bags or dark circles?
Cooling may temporarily soften the appearance of puffiness, but it does not remove structural under-eye bags or address every cause of dark circles. Only use a globe near the eyes if its instructions permit it, keeping contact light and on the bony orbital rim. Targeted eye care can address overlapping concerns such as hydration, visible wrinkles and dark circles.