


Table of Contents
- Introduction
- What a facial roller can do for your skin
- Prepare your roller and skin
- How to use a facial roller step by step
- Give the eye area a lighter touch
- Fit rolling into one simple skincare routine
- Keep the roller clean and know when to pause
- When a de-puffing mask is the more direct choice
- A comfortable technique is the best starting point
- FAQ
Introduction
Use a smooth facial roller on clean skin with enough serum or moisturiser for comfortable glide, then roll gently from the centre of the face outwards. Keep the pressure light and the session brief. This can help temporarily soften the appearance of puffiness and offers a relaxing facial massage, without pulling at the skin.
The technique matters more than the stone's colour or how firmly you press. A well-used roller should move freely, feel comfortable and leave your skin settled.
This guide concerns smooth manual massage rollers, including jade, rose quartz and metal designs. A needle-covered dermaroller, powered device or 111SKIN Precision Roller needs its own product-specific instructions; the massage sequence below does not apply to those tools.
What a facial roller can do for your skin
Temporary de-puffing and a refreshed appearance
Gentle facial massage can temporarily reduce the appearance of mild puffiness. The result is usually subtle: cheeks or the eye area may look a little less swollen, and the complexion may appear more awake. A naturally cool roller can also feel refreshing.
These effects are different from changing facial structure. Rolling does not remove fat, permanently sharpen the jawline or correct every cause of under-eye bags. Puffiness that changes throughout the day is also different from a persistent hollow or shadow, which massage will not fill.
Treat rolling as a short massage with a cosmetic benefit, not a home treatment for unexplained swelling. Sudden, painful or one-sided facial swelling needs medical advice.
Relaxation, visible lines and realistic expectations
A slow, light rolling motion can feel relaxing across the cheeks, jaw and forehead. You do not need to press into a tense area to make the session worthwhile. If your jaw is painful or difficult to move, seek professional advice rather than trying to work through it with a tool.
Manual rolling is not established as a way to rebuild collagen or permanently erase wrinkles. Hydrating skincare has a separate role: it helps skin look smoother and plumper, particularly when dehydration makes fine lines more noticeable.
This distinction reflects 111SKIN's clinically inspired approach. Founded by plastic and reconstructive surgeon Dr Yannis Alexandrides and Eva Alexandridis, the brand draws on his practice at 111 Harley St. in London, pairing targeted skincare with considered at-home rituals. The formula addresses the concern; a massage tool adds an experience, without reproducing a clinical procedure.
A successful rolling session feels like a gentle glide. More pressure, stronger redness and longer sessions are not measures of a better result.
Prepare your roller and skin
Check the tool before it touches your face
Choose a smooth roller that turns freely and feels comfortable to hold. The larger head suits broad areas such as the cheeks and forehead; a smaller head offers more control around facial contours. A small head does not automatically make a roller suitable for eyelid use.
Inspect the surface and fittings each time. A chipped stone, rough edge or stiff mechanism can scratch or drag against skin. Stop using a damaged tool, and follow the manufacturer's cleaning instructions for its particular material and construction.
Jade and rose quartz rollers perform the same basic task: gentle manual massage. There is no need to choose a stone for claims about healing energy or assume a more expensive crystal will deliver greater skin benefits. Smoothness, secure fittings and ease of cleaning are more useful selection criteria.
Cleanse before adding slip
Start with clean hands and remove make-up and surface impurities. Rolling over foundation or an unwashed face moves residue around and makes the tool harder to keep clean. Skin should feel comfortable after cleansing, without the tightness that can follow overly hot water or harsh washing.
111SKIN Cleansing Oil removes make-up and impurities while leaving skin softer. Apply 2 to 3 pumps with dry hands to dry skin, massage for 30 seconds, then rinse with warm water and pat dry. It can be used alone or as the first step in a double cleanse.
Next, apply your usual serum or moisturiser to give the tool slip. The right texture allows the roller to turn without catching; a watery serum that absorbs immediately may not provide enough glide on its own. A moisturiser can offer a more forgiving surface for a beginner.
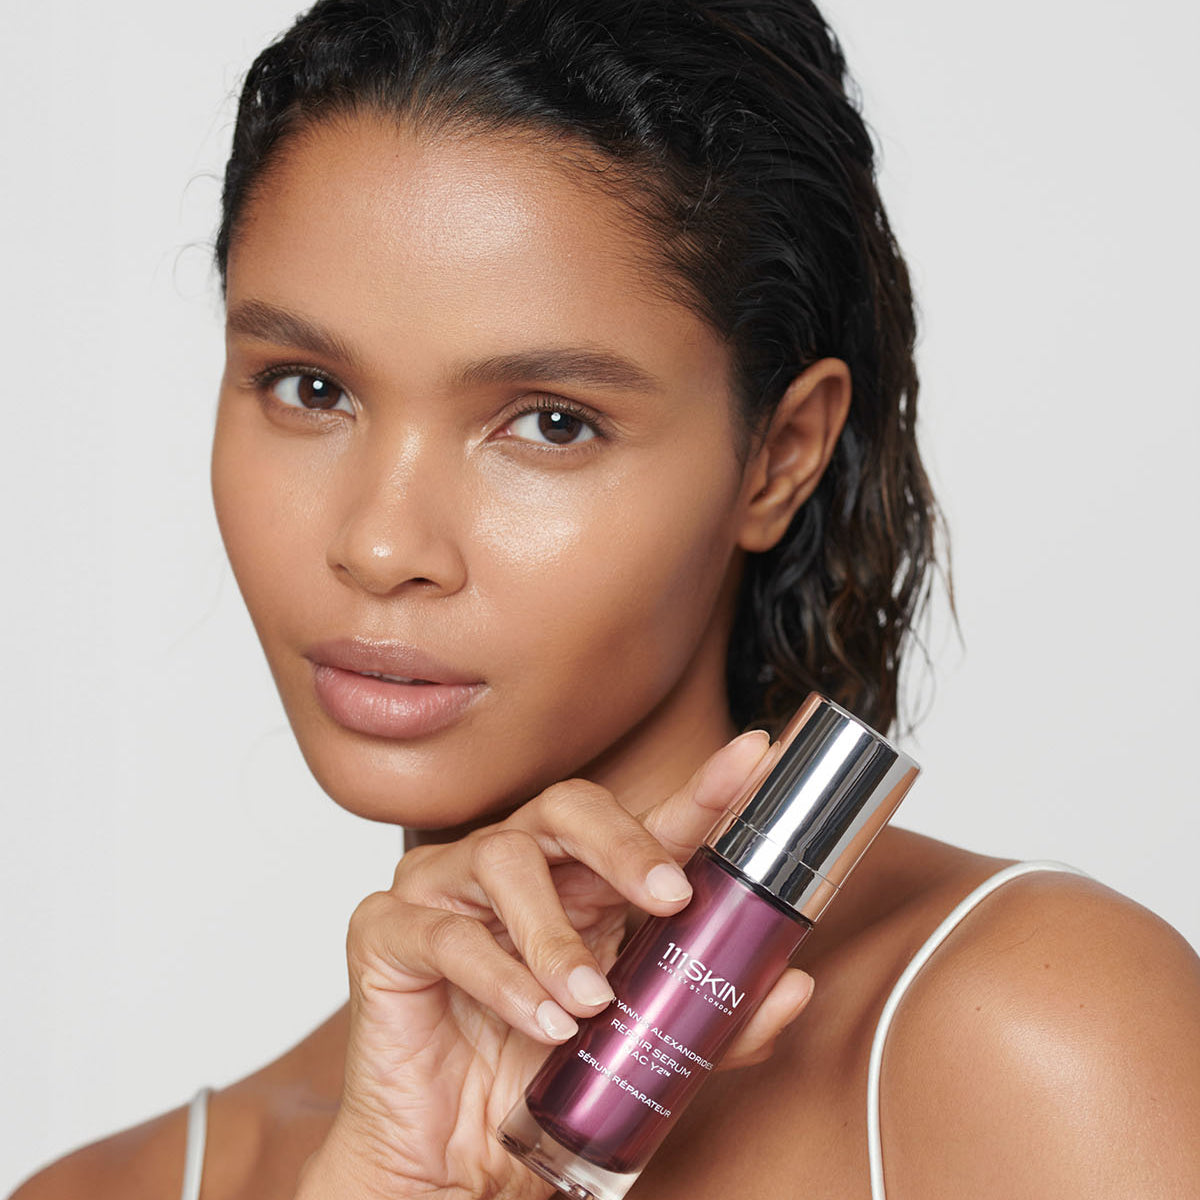
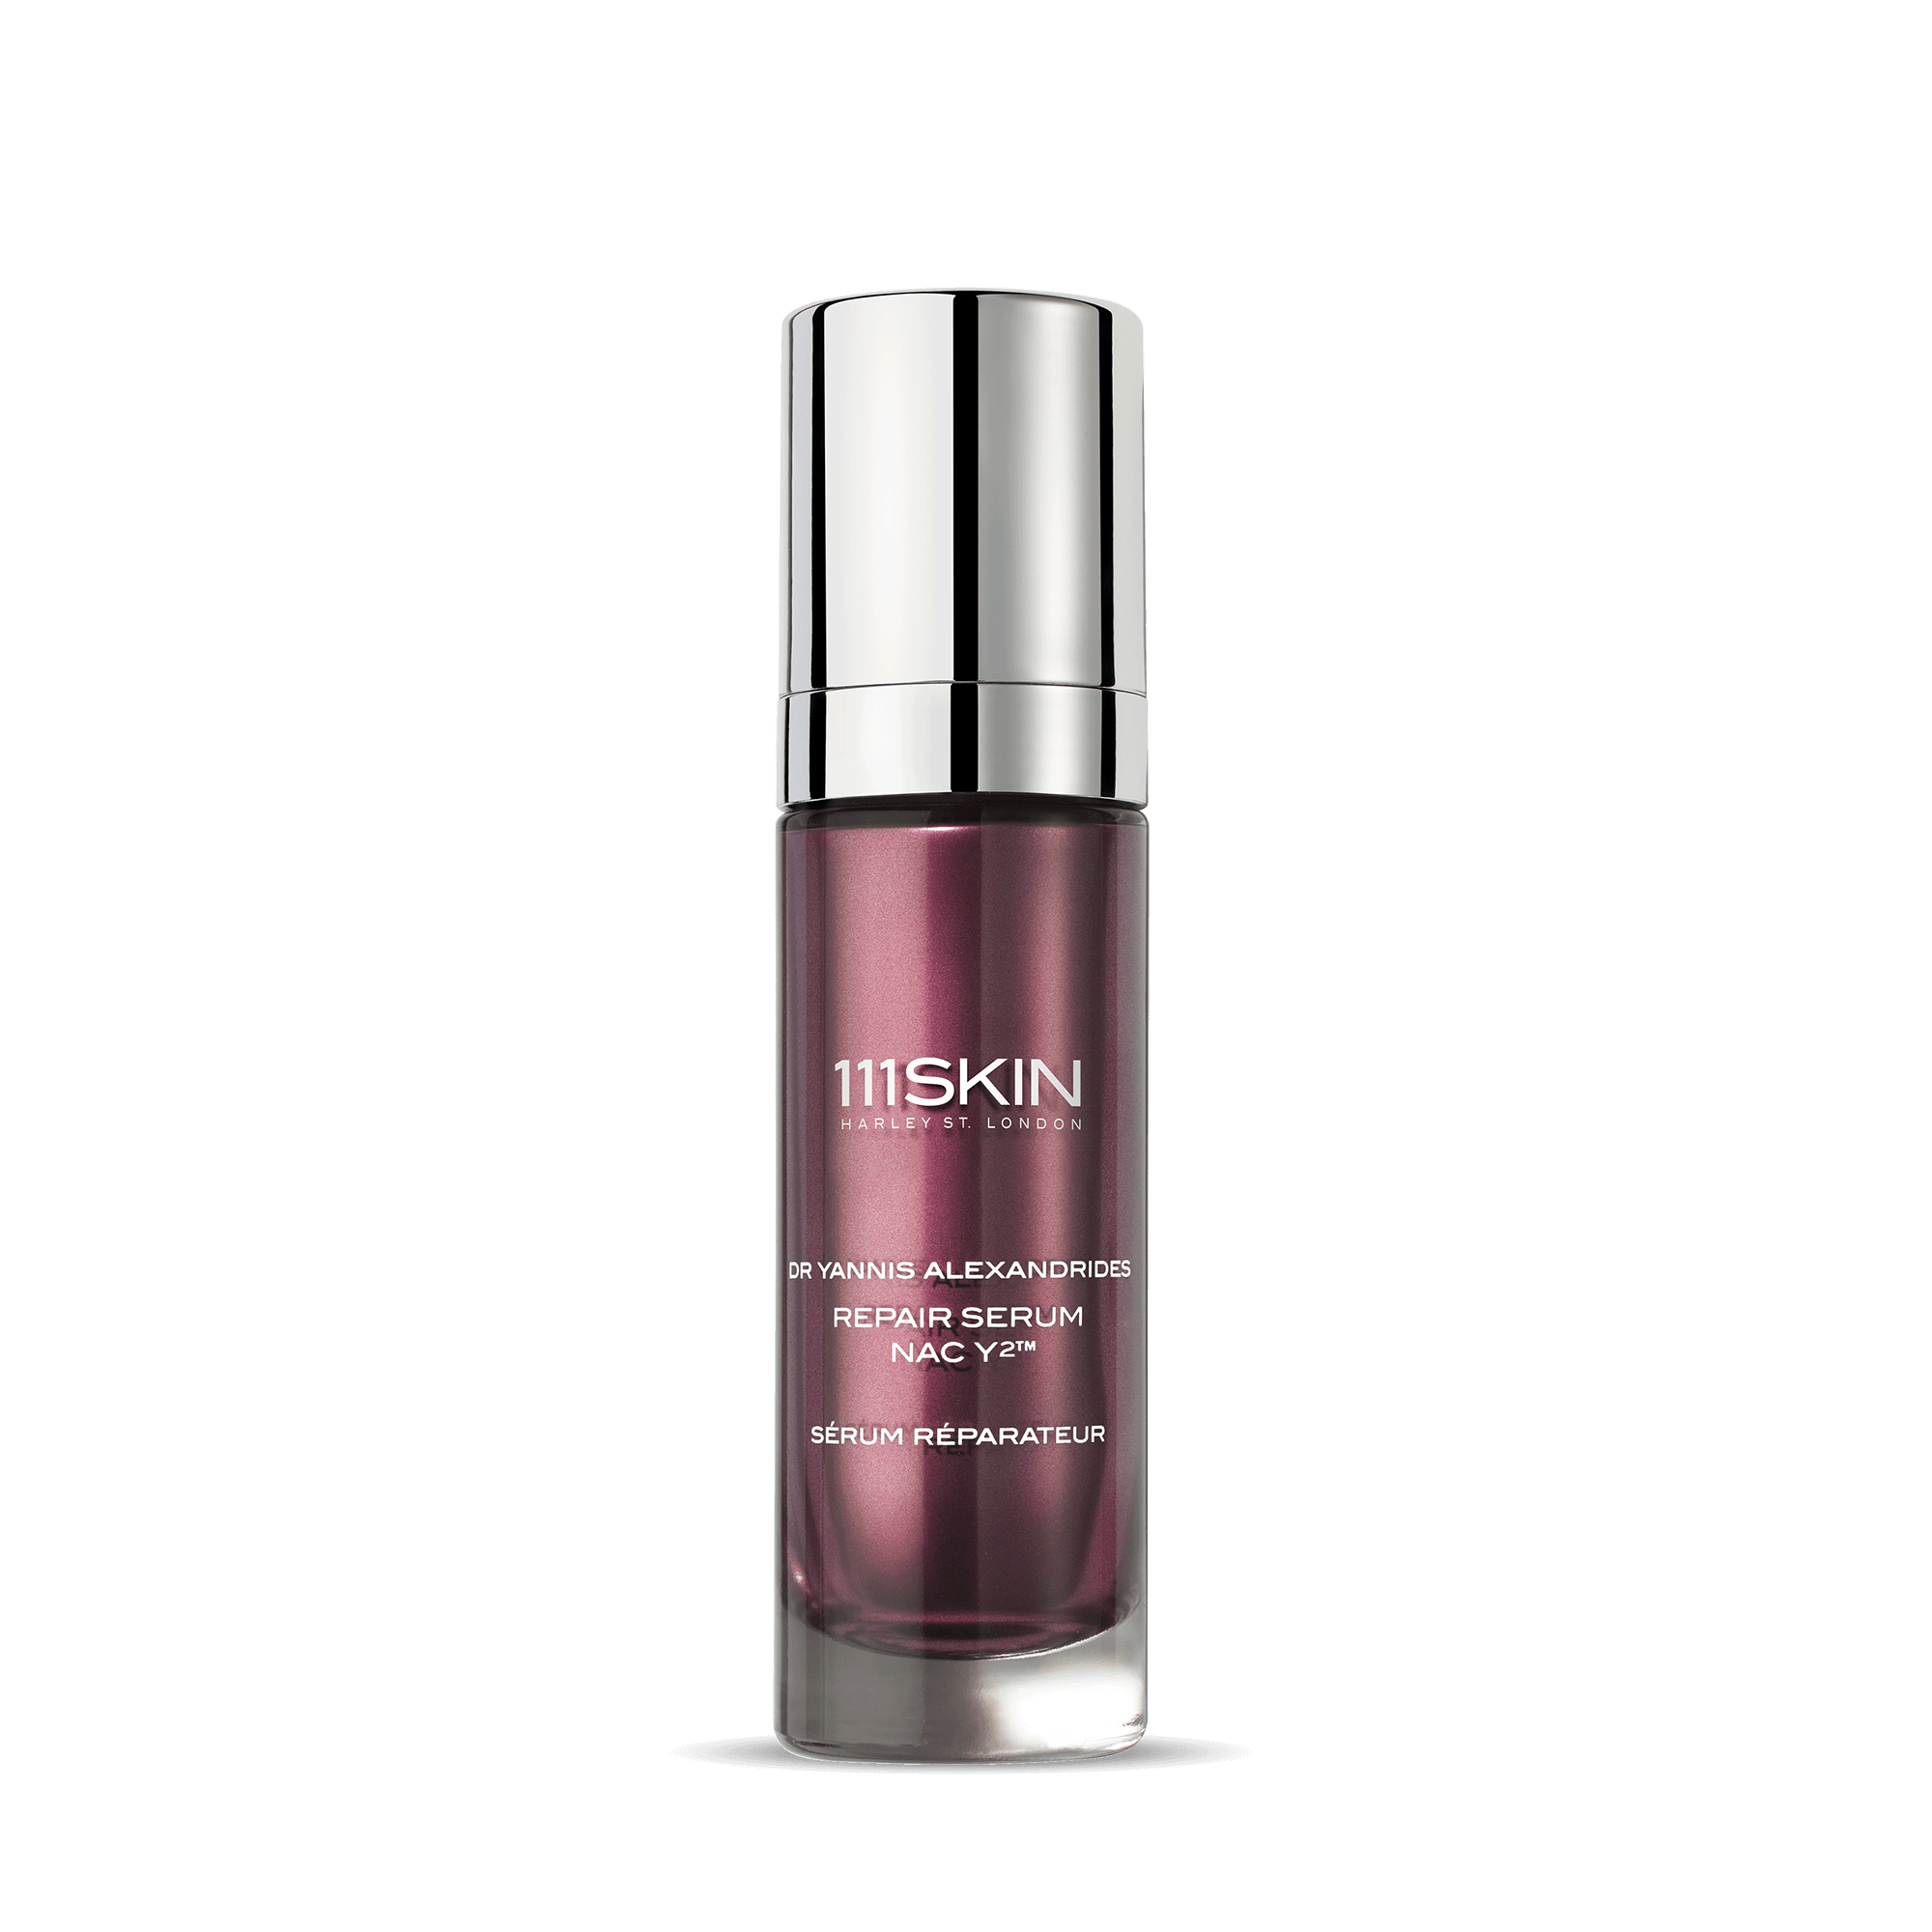
Repair Serum NAC Y²™ provides hydration and a smoother, plumper-looking finish in a cooling, velvety texture. Its NAC Y²™, Pink Rock Rose Extract and Centella Asiatica make it relevant when hydration, visible redness and early signs of ageing are concerns. Apply it as part of the routine below, then use moisturiser to complete your preparation for rolling.
You do not need to keep adding product to extend the massage. If skincare has absorbed and the roller starts to catch, finishing the session is a better choice than continuing over dry-feeling skin.
How to use a facial roller step by step
Follow a simple facial sequence
For a conventional smooth manual roller, use the sequence below alongside its manufacturer's instructions. Work slowly enough to notice whether the head is turning freely. Keep facial muscles relaxed and avoid clenching your jaw while concentrating.
- Begin at the jawline. Place the larger roller near the centre of the chin and glide outwards along one side of the jaw towards the ear. Lift the tool and return to the starting point, then repeat a few comfortable passes before changing sides.
- Move across the cheeks. Start beside the nose, keeping clear of the nostril, and roll outwards towards the ear. Follow the contour of the cheek without pushing hard against the cheekbone.
- Work slightly higher across the cheeks. Make another gentle outward pass towards the temple, staying below the eye area. Use shorter strokes if a broad sweep feels awkward.
- Roll the forehead. Start near the centre and move outwards towards the temple. You can also make gentle upward passes from above the brows towards the hairline, keeping the roller away from the eyes.
- Treat the under-eye area only if the tool is designed for it. With the smaller head, use feather-light pressure along the bony area beneath the eye, moving from the inner area outwards. Stay away from the lash line, mobile eyelid and eyeball.
- Finish and clean the tool. Stop while the skin still feels comfortable, then remove skincare residue from the roller using its care instructions. Let it dry fully before putting it away.
Lifting and resetting between passes gives you control over the movement and pressure. There is no need to scrub rapidly back and forth or repeatedly work the same patch of skin.
The outward direction is a straightforward massage pattern, not a promise of permanent lifting. You also do not need an elaborate neck sequence to complete a useful facial massage. This home routine is not a medical lymphatic-drainage treatment.
Use less pressure than you think
Hold the handle lightly and let the roller rest against the skin. Your cheek should not bunch ahead of the roller, and the tool should not leave deep tracks. Around the eyes, reduce pressure further or leave the area out altogether.
A comfortable massage can feel noticeable without feeling forceful. Pain, stinging, pinching or a strong burning sensation are reasons to stop, not signs that the tool is working.
Watch your grip as you move towards the temples. It is easy to press harder when reaching an awkward angle, so turn your head slightly or use a shorter stroke instead. Control matters more than covering the entire face in one uninterrupted sweep.
Keep the session short
A few minutes is enough for a simple facial massage. Around 3 to 5 minutes is a practical guide for a conventional manual roller, provided its own instructions agree and your skin remains comfortable. There is no evidence-based requirement to complete a fixed number of passes across every area.
Start with a shorter session if rolling is new to you. You can use the tool occasionally or build it into a regular routine if your skin tolerates it well. Daily use is not a target you need to reach.
Morning rolling suits people who want a refreshed-looking complexion before make-up. Evening rolling can be a pleasant way to slow down after cleansing. Neither timing makes manual massage a more powerful wrinkle treatment.
Give the eye area a lighter touch
The skin around the eyes needs particular care because there is less room to manoeuvre and pressure can easily reach the eye itself. If the smaller roller head pulls, feels awkward or brings product towards your eyes, use your fingertips for eye care and reserve the tool for the cheeks, jaw and forehead.
A roller's temporary de-puffing effect also differs from an eye formula designed for several visible concerns. Eye Lift Gel NAC Y²™ is a lightweight hydrating gel that addresses wrinkles, dark circles and puffiness, with a lifted-looking finish. It contains NAC Y²™, Argireline and Caffeine, making it a relevant choice when puffiness sits alongside visible lines.
111SKIN reports a 35% wrinkle reduction after two weeks in a clinical trial of 30 participants using Primos CR for Eye Lift Gel NAC Y²™.
Apply the gel with your fingers, morning and evening before serum. Share half a pump between the ring fingers, pat from the outer corner inwards, then move upwards and sweep over the brow bone back to the outer corner until absorbed. Avoid rubbing under the eyes.
That application direction belongs to the gel's fingertip method. You do not need to alter it to match a roller sequence or roll over the product afterwards. In the complete routine below, leave the eye area to this targeted application.
Fit rolling into one simple skincare routine
Rolling is easiest to manage when it has one clear place in the routine. For a conventional smooth manual tool, massage after moisturiser has supplied comfortable slip and before applying sunscreen or make-up. This avoids rolling across a finished sunscreen layer or disturbing foundation.
The following routine keeps the skincare purposeful without adding specialist actives simply to support a tool:
- Cleanse with Cleansing Oil. Use 2 to 3 pumps on dry skin with dry hands, massage for 30 seconds, rinse with warm water and pat dry.
- Apply Eye Lift Gel NAC Y²™ if using targeted eye care. Use half a pump shared between both ring fingers and follow the fingertip method above, before serum.
- Apply Repair Serum NAC Y²™. Smooth 1 to 2 pumps onto the face and neck for hydration and a smoother, plumper-looking finish.
- Apply moisturiser. In the morning, use a pea-sized amount of Repair Day Cream NAC Y²™ across the face, neck and décolletage. Its nourishing hydration and skin-barrier support complement the serum.
- Roll gently while there is comfortable glide. Follow the facial sequence, concentrating on the jaw, cheeks and forehead. Leave the eye area to the gel's fingertip application in this routine.
- Complete morning care with Repair Sunscreen SPF50+. Apply generously and evenly after moisturiser, 15 to 20 minutes before sun exposure, and follow its exposure and reapplication directions.
For the evening version, use Repair Night Cream NAC Y²™ after serum, applying a pea-sized amount to the face, neck and décolletage before the brief massage. It provides replenishing evening moisturising care.
Hydration and massage have complementary roles here. Humectants attract water, while moisturising ingredients can soften skin and help limit moisture loss. The roller supplies the massage; it does not create hydration by itself or make sunscreen unnecessary.
Nor does rolling need to drive products deeper into the skin to be useful. Apply each formula in its normal amount and enjoy the tool for gentle massage, without assuming that increased pressure improves absorption.
Keep the roller clean and know when to pause
Clean according to its material
Remove product residue after every session. For a washable manual roller, the manufacturer's method may involve a gentle cleanser and water, followed by thorough drying. Some fittings, adhesives or handles need different care, so avoid automatically soaking the whole tool.
Do not use an alcohol cleaner unless the tool's care instructions permit it. A method suitable for one roller may affect another surface or mechanism. Store the clean, dry roller somewhere protected from bathroom splashes and avoid sharing it.
Before the next use, check that no residue remains around the edges of the rolling head. If the roller has been dropped, inspect it carefully for chips even if it still turns.
Cooling is a preference, not a requirement
Many stone and metal rollers already feel cool at room temperature. Refrigeration can add a refreshing sensation when the manufacturer permits it, but it is not necessary for a good massage.
Avoid using a painfully cold or frozen tool on the face. Cold should feel comfortable, not sting or numb the skin. Keep a refrigerated roller clean and protected, then check its temperature before beginning.
Permission to chill a tool does not extend to every skincare formula. Keep creams, gels and other products according to their own storage instructions.
Respond to the skin in front of you
A routine that felt comfortable yesterday may not suit skin that is irritated today. Pause rolling when the surface is tender, broken or inflamed, and be especially cautious after cosmetic procedures.
Common reasons to skip a session include:
- Sunburn, open cuts or irritated patches that sting when touched.
- Inflamed blemishes that would be pressed or dragged by the roller.
- An active eczema or rosacea flare.
- Recent treatment for which your practitioner has not yet cleared facial massage.
If the roller catches, check the product slip and whether the head turns properly. If skin becomes sore or develops persistent redness, stop using the tool. Persistent irritation, unexplained puffiness or a medical concern merits professional advice.
Finish when the massage still feels comfortable. Smooth movement, light contact and settled skin are better checkpoints than a timer or a prescribed number of strokes.
When a de-puffing mask is the more direct choice
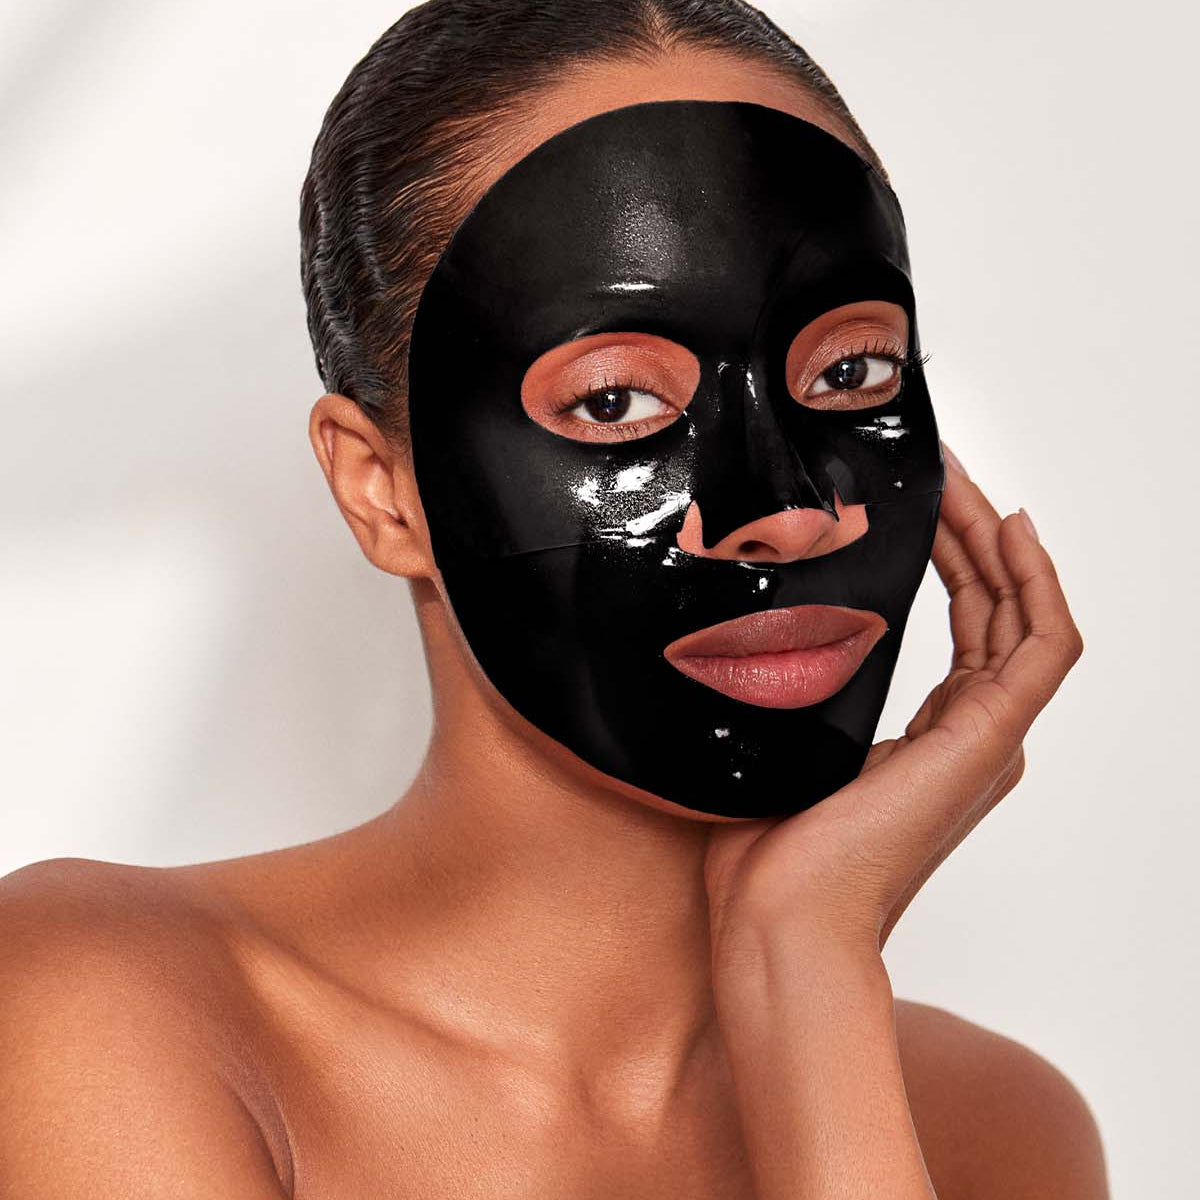
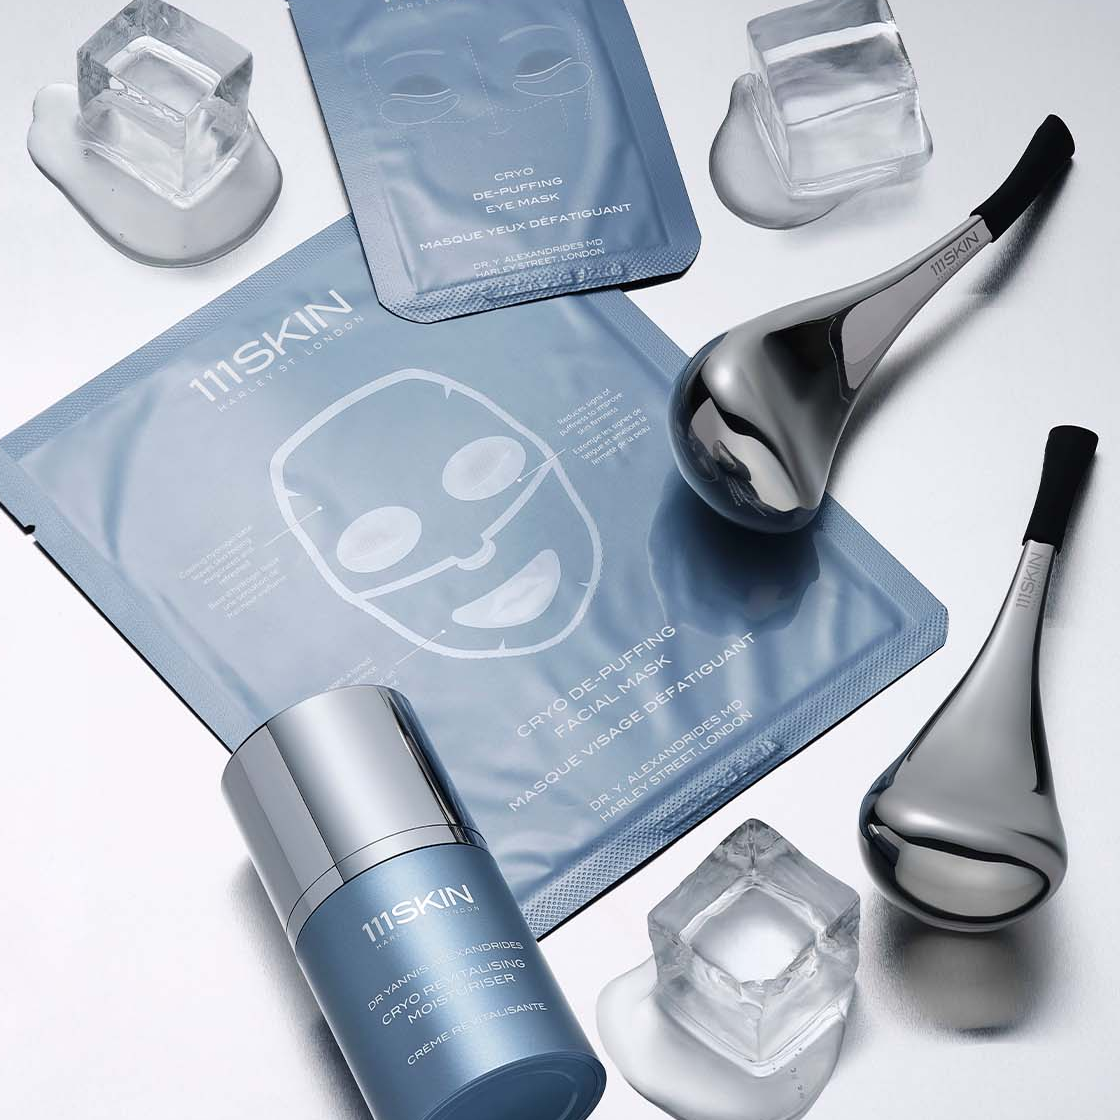
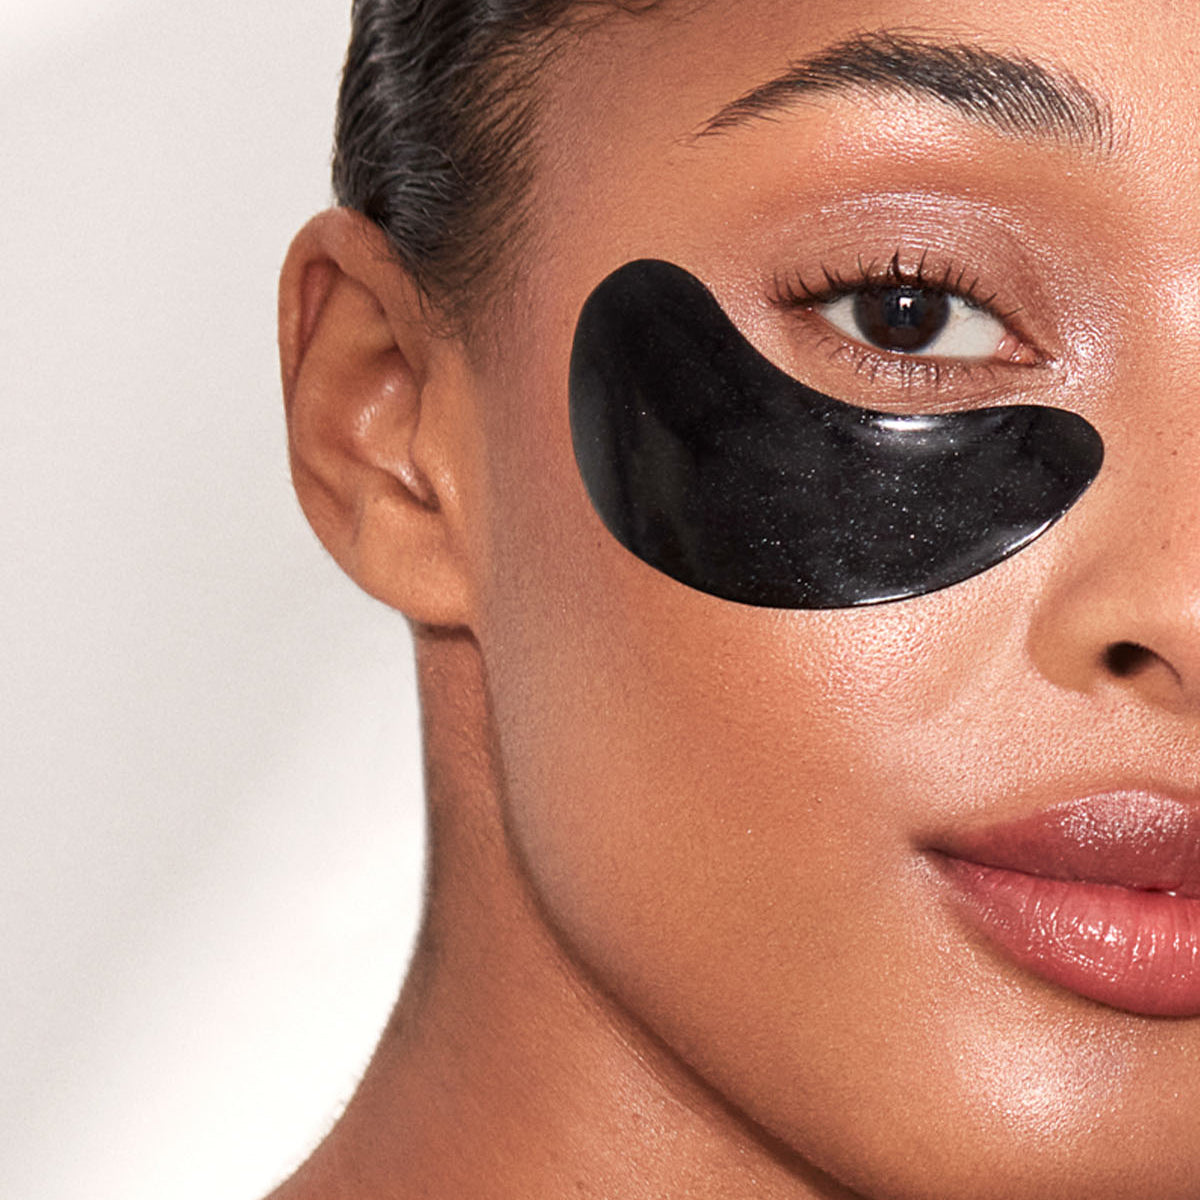
If your main aim is to address a tired, puffy-looking complexion, a targeted mask offers a different format without requiring massage technique. Cryo De-Puffing Facial Mask is a two-piece hydrogel mask featuring Caffeine and peptides for visibly puffy, tired-looking skin. Refrigeration before use is permitted for this mask.
Apply it to clean, dry skin after cleansing, morning or evening, wear for 20 minutes, then remove before subsequent leave-on skincare. It creates a defined treatment interval, which can be useful when you would prefer to leave the skin undisturbed.
Keep the mask and roller as separate approaches. You do not need to roll over the hydrogel to make the treatment effective, and moving a tool across it can make placement harder to control. The practical choice is between a brief hands-on massage and a targeted, removable mask.
A comfortable technique is the best starting point
To use a facial roller well, begin with a clean, intact tool, prepare clean skin with comfortable slip and make slow, light passes across the face. Keep the session brief, clean the roller afterwards and judge the technique by how your skin feels.
Expect temporary refreshment and a relaxing massage, while letting targeted skincare address hydration, visible lines and other ongoing concerns. Start by matching your moisturising care to your skin's needs, then add rolling only where it remains comfortable and enjoyable.
As with any skincare product, patch test before first use. If you are pregnant or breastfeeding, consult your doctor before using any skincare products.
FAQ
Should I use a facial roller before or after moisturiser?
For a conventional smooth manual roller, moisturiser can provide the slip needed for comfortable massage. Roll before sunscreen and make-up, and follow any different product-specific directions supplied with your tool. Stop if the roller begins to drag as the moisturiser absorbs.
Can I use a facial roller every day?
Some people tolerate gentle daily rolling, but daily use is not necessary to benefit from the massage. Begin with short sessions and adjust to your skin's response. Pause if you notice soreness, persistent redness or irritation.
Does a facial roller reduce wrinkles or sculpt the face?
A smooth manual roller can temporarily soften the appearance of puffiness, which may make facial contours look more defined. It does not permanently reshape the face or have established wrinkle-erasing effects. Hydrating and targeted skincare address visible skin concerns separately from massage.
Do I need a facial oil to use a roller?
No, a serum or moisturiser can provide suitable glide for a smooth manual roller. Choose a texture that lets the head turn freely without tugging, and follow the formula's normal application directions. An active treatment in an oil base should not automatically be treated as a massage oil.